Disclaimer: I meant to publish this post months ago, hence the cold weather attire and Matt actually being home.
Our latest DIY
project is a chalkboard frame. I used to
have a great chalkboard frame and it was broken in one of our moves. But because I love the chalkboard, I just
broke off the rest of the frame and leaned it against the wall (broken nails
and all). Here in Japan we had a perfect
wall spot for the chalkboard, but still no frame. So I roped Matt into making one for me. And here is how we did it…
 |
| Before. |
We started off
by taking measurements of the chalkboard.
Then we went to our local hardware store and got some wood cut to size
(that took a couple of tries due to the language barrier and the metric
system).
 |
| The materials. |
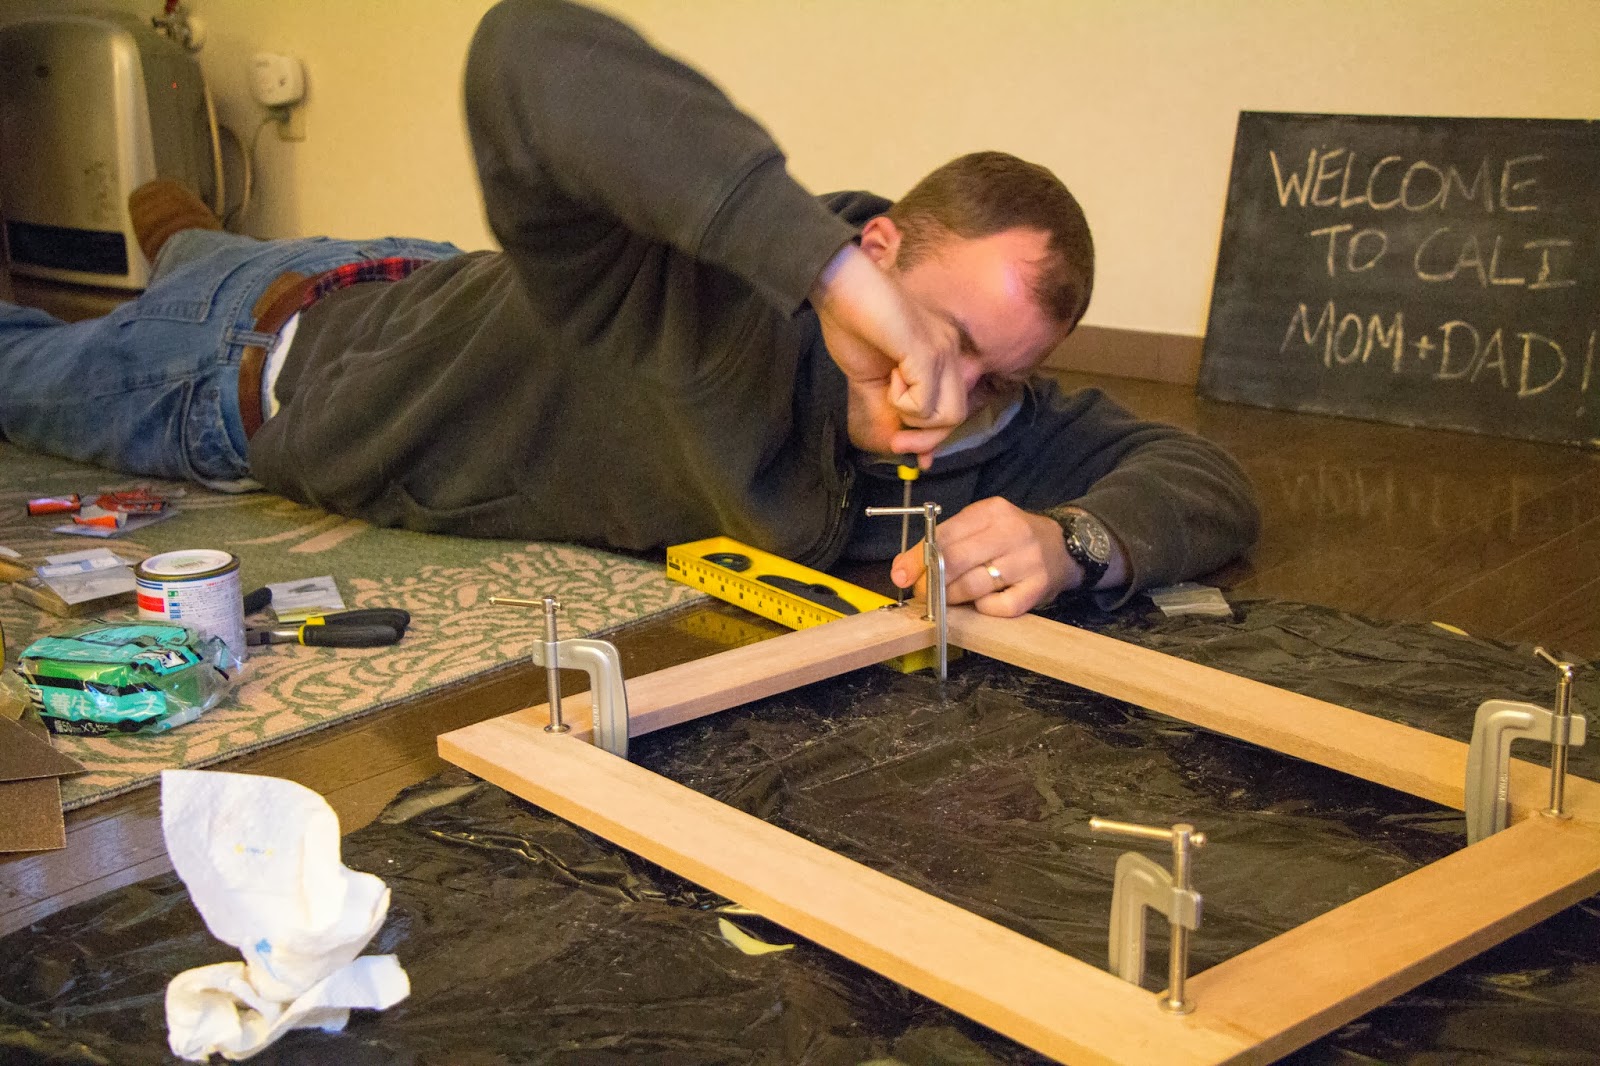
The next step
was to sand the wood pieces and use wood glue to stick the pieces together. We also used that joiner thing (I completely am blanking on the name) to secure the wood together.
Next I took the
wood outside and painted it. It is
important to check the weather before leaving your painted frame outside to
dry. I did not do this, which resulted
in me having to sand and apply even more layers of paint.
 |
| Pre-thunderstorm. |
Next we added additional thin wood pieces to the back of the frame so that we could hang the chalkboard. We also clamped those to dry.
Once the paint
dried, Matt glued the chalkboard to the frame with wood glue.
After one more
coat of paint to try to cover up the clamps marks, we had our chalkboard.
The final step
was finding a quote for our new chalkboard – my favorite part!


No comments:
Post a Comment