Due to how much we've moved around and had different sized bedrooms (or lofts), we do not have bedroom furniture. I just thought we'd wait until we bought a house and knew what kind of space we were working with. As time has gone on, we've bought a few things here and there to give our bedroom a little bit more style...the main one is this blue, antiqued dresser from HomeGoods.
This dresser has been the inspiration to have the rest of our bedroom have a rustic, country, and antique look. So we started the search for nightstands, but found nothing at antique shops or other random furniture find spots. Side of the road, perhaps??

Recently I was in Richmond and went to my friend Kathleen's house. She is VERY crafty. She had this great dresser-table that had a cool, antique look and told me that it was re-finished using "Annie Sloan Chalk Paint"...this is not chalk BOARD paint. It's a very porous chalk-like paint that can be used to re-finish wood or metal with zero prep. No sanding or primer. I researched this paint and there are a TON of youtube videos and blogs from crafty people who have used this product. VERY helpful.
ASCP dries within 30 mins-1 hour. It doesn't show brushstrokes like latex paint and is super soft to the touch. It has a matte finish. After adding wax and buffing with steel wool it get a hard, shiny, and protected finish.
You cannot buy it a hardware store, but the website (link above) has retail locations listed where you can buy the products. It's not cheap (seriously it's $$$) BUT a little goes a long way...after all my projects below, I still have half of the paint and clear wax and almost all of the dark wax left over.


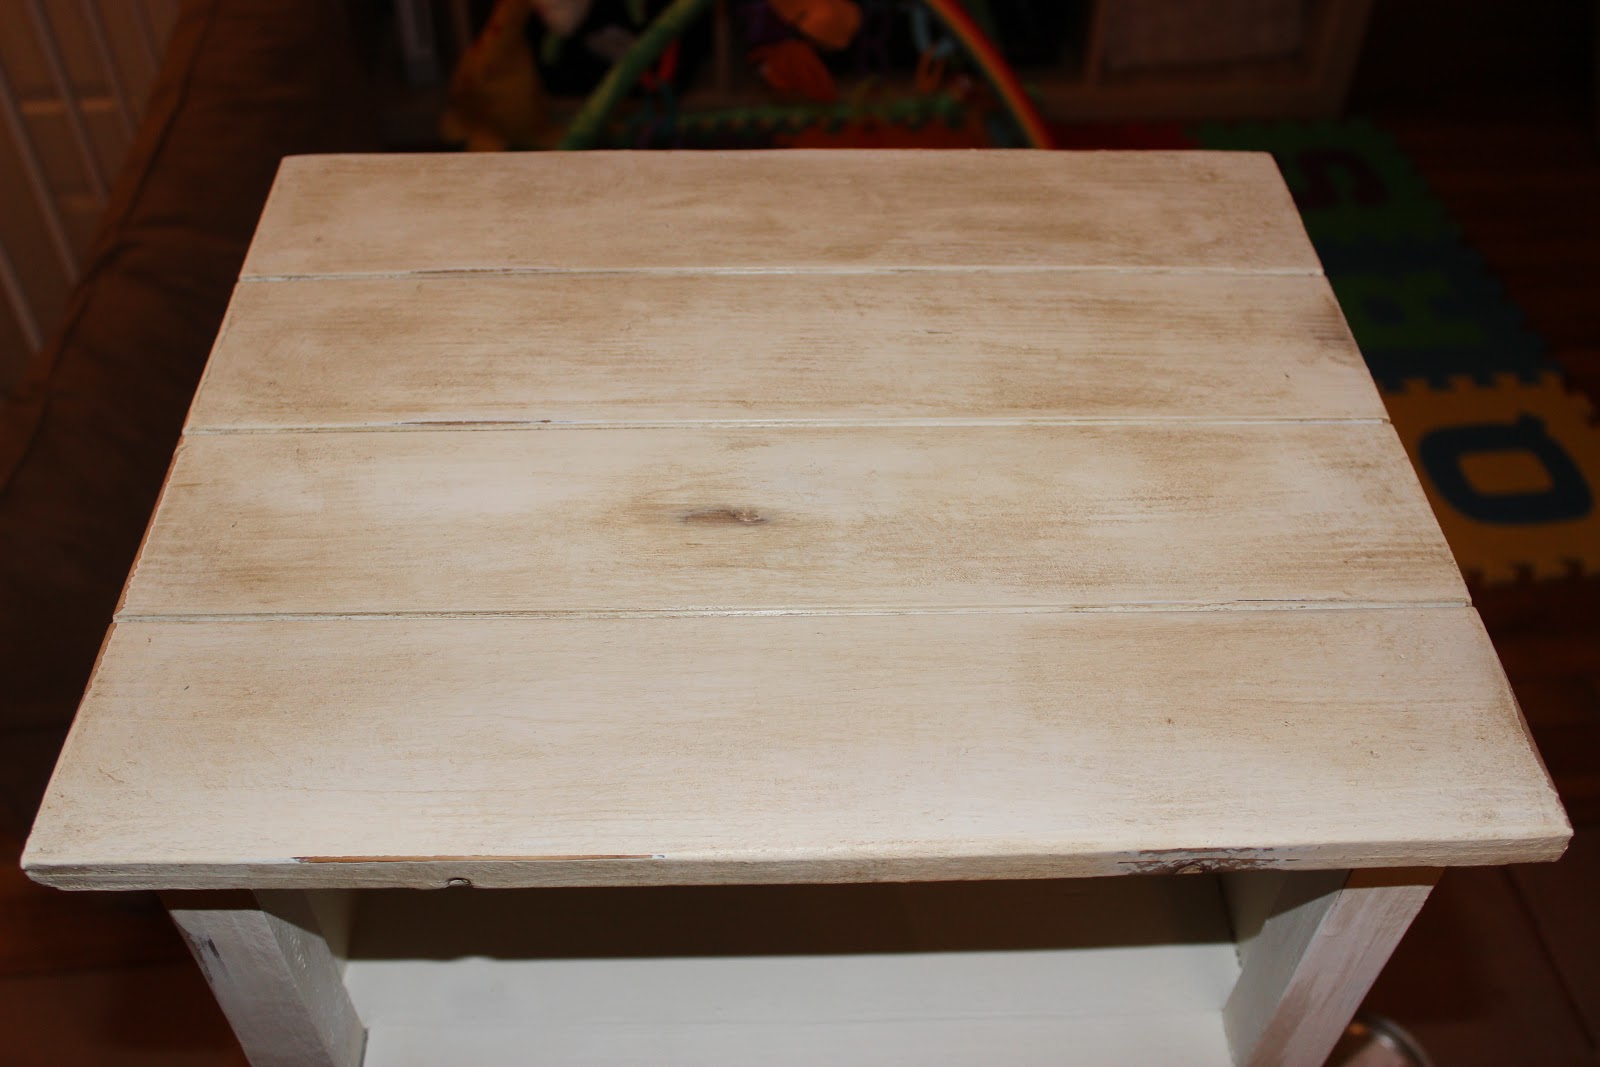
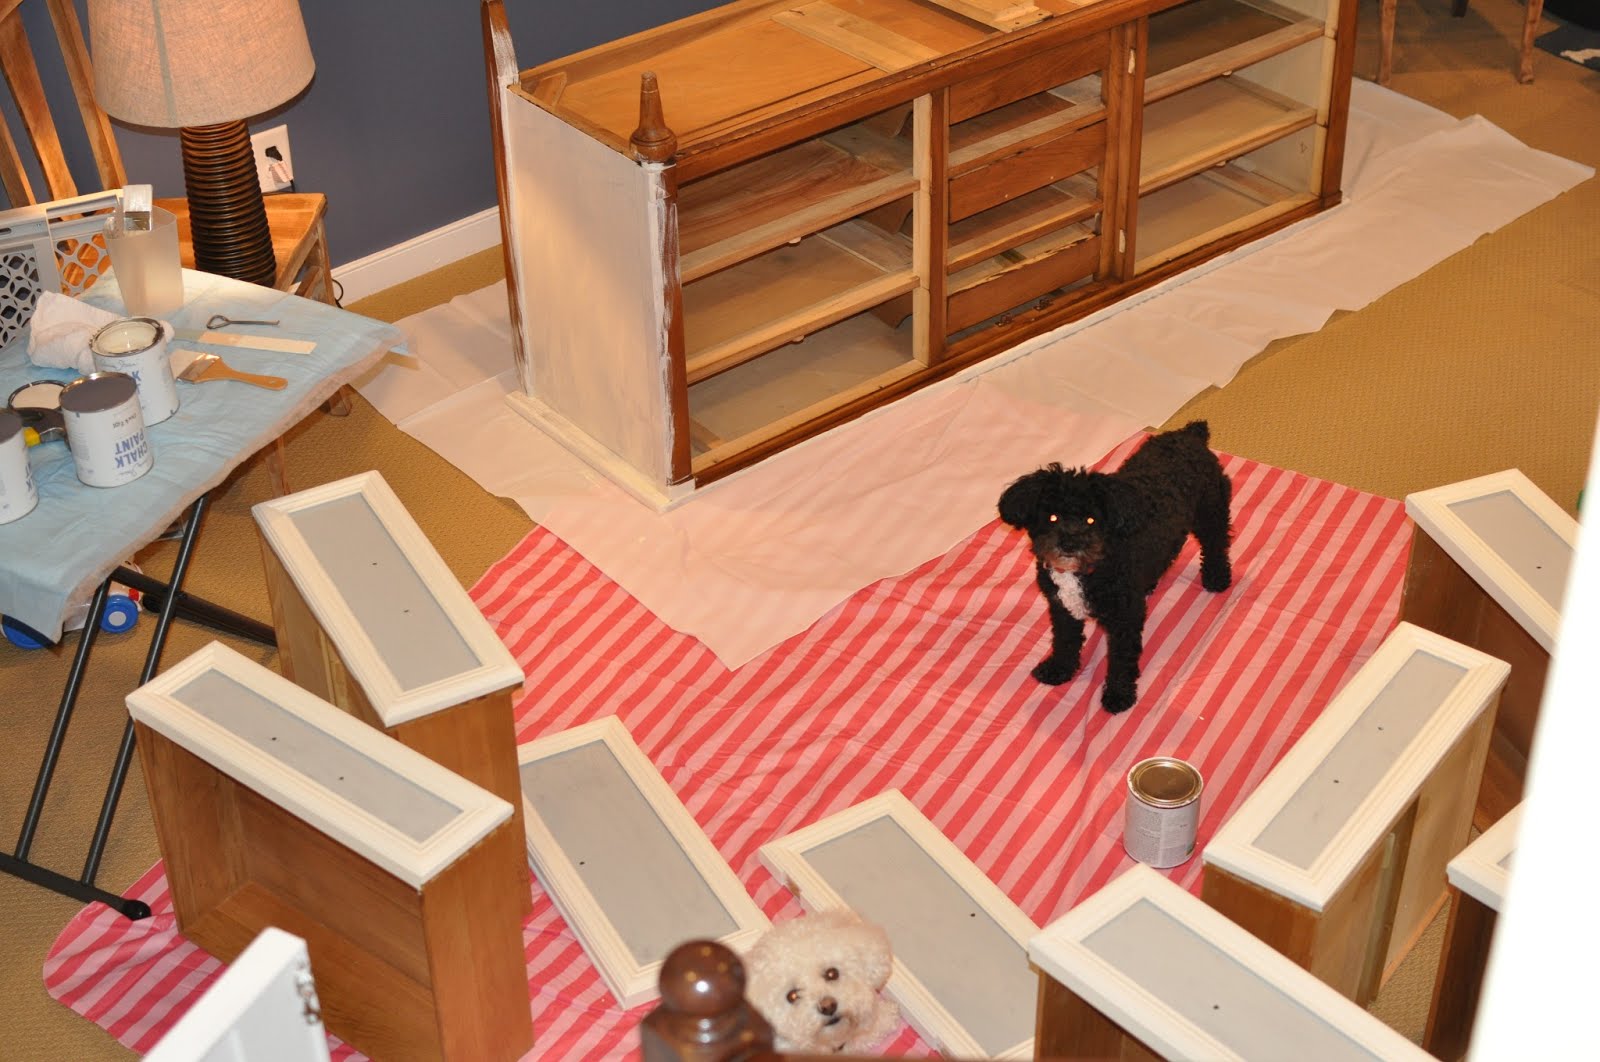
Soon after, Nick and I found these two nightstands and they looked like they only had a coat of primer, so we decided to re-finish them with chalk paint. Nick and I each did one nightstand, but helped each other along the way. We really like the way they turned out!!
 |
| what we started with - very light coat of primer |
 |
| 1st coat of Annie Sloan Old White |
 |
| painting |
Products used: Annie Sloan "Old White" with both Annie Sloan clear and dark wax.
Project steps: We cleaned them, painted 2 coats, distressed using sand paper, covered in clear wax, covered in dark wax which was then blended and erased with more clear wax, then buffed with steel wool.
How to use: Kathleen gave me great directions and tips...here they are:
1) clean piece well. I used 409 and rags.
2) first coat chalk paint. I used a thin brush with smooth bristles and made sure to cover everything going in direction of the wood grain. It only takes about 30min- hour to dry!! If you mess up anywhere, it wipes off with a wet rag or sponge! Amazing!!
3) 2nd coat. Don't "overwork" the paint. Just cover and move quick. You can't mess up! Let dry. Prob a little longer due to next step.
3) distress!! On edges I used a damp sponge with the scrubber pad on one side. Crazy how it just wipes off with the scrubber then you can use the softer side to make sure it's all off. For flat parts like top or sides, need to sand with sandpaper to smooth out brush strokes. We used the orbital mouse sander but not sure if u have that. Sandpaper was 220 grit. When you finish, use a dry, clean fluffy paintbrush to brush away all the dustings. It's like chalk!!
4) wax! I used Annie Sloan clear wax. The youtube videos said to use her round, fatty brush but I found one at hobby lobby called a stencil brush for much less. I would consider getting the good one if I do a lot more projects but the cheapo worked for me. Just goop it on and brush it out, use a rag to smooth it in, esp corners.
5) let dry 24 hours. It's tacky at first then you can kind of tell when it dries.
6) buff! Use 000 steel wool pads and a cloth. Amazing how it shines up immediately.
7) take a pic of the finished project for me!!
Here are some tips...
~ Whatever you are painting over will show through when you distress the piece with sanding. We didn't like the white primer paint showing through, so we re-painted over those spots.
~ You can distress after waxing...gives you a little more control over how many under-layers you want to show.
~ Dark wax catches every inconsistency on your piece. This includes brushstrokes, natural wood pattern, nicks, and corners. Unless you have a very even piece, you do not need to distress a piece if you plan to use dark wax.
~ You can use just a bit of dark wax on corners or edges or you can cover the whole piece. Either way, wipe off right way, and blend or erase it with clear wax.
~ Make sure to brush paint dust or wool pad particles off with a paint brush. We vacuumed the piece after buffing.
Now for the pictures!

For a little inspiration and to see more of ASCP...here are Kathleen's pieces:
 |
| 2 coats of Old White, clear wax, & a little distressing...the white paint showed through which we didn't like |
 |
| little bit of dark wax |
 |
| the dark wax is scary to apply....but after blending with clear wax and a little elbow grease, it gives a cool effect. |
 |
| finished product with home depot hardware |
 |
| i love how the dark wax gets into EVERY groove and creates an aged look |

For a little inspiration and to see more of ASCP...here are Kathleen's pieces:
 |
| I flipped it upside down so I could get to it better |
 |
| Before I distressed it! |
 |
| All done! |

 |
| Another piece I did. We sanded the finish off the top and stained it. |

Project #2 is a earring hanging frame. The idea is to get an old frame or vanity mirror, add wire, and hang your earrings inside. I had a couple pictures for inspiration, but haven't been able to find the frame for a long time. Finally I found an antique vanity mirror at a vintage shop in Falls Church...the same place where I bought the Annie Sloan Chalk Paint.


Products Used: Annie Sloan Chalk Paint "old white", Annie Sloan clear & dark waxes, thin jewelry wire, and jewelry crimp beads
Project Steps:
1) pulled out the mirror,
2) painted 2 coats of "Old White"
3) brushed on clear wax and then wiped off
4) sanded till the metal showed through for an aged look
5) dabbed on a tiny bit of dark wax (used my fingertip with plastic glove on) to the sanded parts and wiped-blended with a rag.
6) buffed with a steel wool pad and then brushed off the steel wool dust
7) tied metal jewelry wire around the back of the frame (secured on each side with crimp beads)
8) tied ribbon to the top to hang it with.
Tip:
~ Make sure to tie the jewelry wire very tight (for those heavy dangles) and use rounded pliers to pull the wire and flatten your crimp beads.
 |
| what I started with |
 |
| ready for paint! |
 | ||
2 coats of Annie Sloan Chalk Paint "Old White"
|

 |
| up close to see distressing detail |
 |
| distressing with sanding and dark wax |
 |
| jewelry organization! |
Warning...the earring frame project will probably make you realize that you need to clean your jewelry and throw some of it out! Haha.
Love from Alexandria!


.jpg)